
🎓 Check Out My Top 25 Udemy Courses (80-90% Discount): My Udemy Courses - Ramesh Fadatare
In this Spring Security tutorial, we will learn how to implement a custom login form with database authentication using Spring Security and the MySQL database.
In the case of database authentication, the User enters login credentials like username and password in a Login form and submits the form. Next, we will validate User entered login credentials with the username and password in a database table.
Database Set up

Add Maven Dependencies
		<dependency>
			<groupId>org.springframework.boot</groupId>
			<artifactId>spring-boot-starter-data-jpa</artifactId>
		</dependency>
		<dependency>
			<groupId>org.springframework.boot</groupId>
			<artifactId>spring-boot-starter-web</artifactId>
		</dependency>
		<dependency>
			<groupId>com.mysql</groupId>
			<artifactId>mysql-connector-j</artifactId>
			<scope>runtime</scope>
		</dependency>
		<dependency>
			<groupId>org.projectlombok</groupId>
			<artifactId>lombok</artifactId>
			<optional>true</optional>
		</dependency>
		<dependency>
			<groupId>org.springframework.boot</groupId>
			<artifactId>spring-boot-starter-security</artifactId>
		</dependency>

		<dependency>
			<groupId>org.springframework.boot</groupId>
			<artifactId>spring-boot-starter-thymeleaf</artifactId>
		</dependency>
Configure MySQL Database
create database login_systemspring.datasource.url = jdbc:mysql://localhost:3306/login_system
spring.datasource.username = root
spring.datasource.password = root
# Hibernate ddl auto (create, create-drop, validate, update)
spring.jpa.hibernate.ddl-auto = update
logging.level.org.springframework.security=DEBUGModel Layer - Create JPA Entities
User
import jakarta.persistence.*;
import lombok.AllArgsConstructor;
import lombok.Getter;
import lombok.NoArgsConstructor;
import lombok.Setter;

import java.util.Set;

@Setter
@Getter
@NoArgsConstructor
@AllArgsConstructor
@Entity
@Table(name = "users")
public class User {

    @Id
    @GeneratedValue(strategy = GenerationType.IDENTITY)
    private Long id;
    private String name;
    @Column(nullable = false, unique = true)
    private String username;
    @Column(nullable = false, unique = true)
    private String email;
    @Column(nullable = false)
    private String password;

    @ManyToMany(fetch = FetchType.EAGER, cascade = CascadeType.ALL)
    @JoinTable(name = "users_roles",
        joinColumns = @JoinColumn(name = "user_id", referencedColumnName = "id"),
            inverseJoinColumns = @JoinColumn(name = "role_id", referencedColumnName = "id")
    )
    private Set<Role> roles;
}
Role
import jakarta.persistence.*;
import lombok.AllArgsConstructor;
import lombok.Getter;
import lombok.NoArgsConstructor;
import lombok.Setter;

@Getter
@Setter
@NoArgsConstructor
@AllArgsConstructor
@Entity
@Table(name = "roles")
public class Role {

    @Id
    @GeneratedValue(strategy = GenerationType.IDENTITY)
    private Long id;
    private String name;
}
Repository Layer
UserRepository
import net.javaguides.todo.entity.User;
import org.springframework.data.jpa.repository.JpaRepository;

import java.util.Optional;

public interface UserRepository extends JpaRepository<User, Long> {

    Optional<User> findByUsername(String username);

    Boolean existsByEmail(String email);

    Optional<User> findByUsernameOrEmail(String username, String email);

    boolean existsByUsername(String username);
}
RoleRepository
import net.javaguides.todo.entity.Role;
import org.springframework.data.jpa.repository.JpaRepository;

import java.util.Map;
import java.util.Optional;

public interface RoleRepository extends JpaRepository<Role, Long> {
    Optional<Role> findByName(String name);
}
Service Layer - CustomUserDetailsService
Let's write a logic to load user details by name or email from the database.
import lombok.AllArgsConstructor;
import net.javaguides.todo.entity.User;
import net.javaguides.todo.repository.UserRepository;
import org.springframework.security.core.GrantedAuthority;
import org.springframework.security.core.authority.SimpleGrantedAuthority;
import org.springframework.security.core.userdetails.UserDetails;
import org.springframework.security.core.userdetails.UserDetailsService;
import org.springframework.security.core.userdetails.UsernameNotFoundException;
import org.springframework.stereotype.Service;

import java.util.Set;
import java.util.stream.Collectors;

@Service
@AllArgsConstructor
public class CustomUserDetailsService implements UserDetailsService {

    private UserRepository userRepository;

    @Override
    public UserDetails loadUserByUsername(String usernameOrEmail) throws UsernameNotFoundException {

        User user = userRepository.findByUsernameOrEmail(usernameOrEmail, usernameOrEmail)
                .orElseThrow(() -> new UsernameNotFoundException("User not exists by Username or Email"));

        Set<GrantedAuthority> authorities = user.getRoles().stream()
                .map((role) -> new SimpleGrantedAuthority(role.getName()))
                .collect(Collectors.toSet());

        return new org.springframework.security.core.userdetails.User(
                usernameOrEmail,
                user.getPassword(),
                authorities
        );
    }
}
Spring Security uses the UserDetailsService interface, which contains the loadUserByUsername(String username) method to look up UserDetails for a given username.
The UserDetails interface represents an authenticated user object and Spring Security provides an out-of-the-box implementation of org.springframework.security.core.userdetails.User.
Spring Security Configuration
import lombok.AllArgsConstructor;
import org.springframework.context.annotation.Bean;
import org.springframework.context.annotation.Configuration;
import org.springframework.security.authentication.AuthenticationManager;
import org.springframework.security.config.annotation.authentication.configuration.AuthenticationConfiguration;
import org.springframework.security.config.annotation.web.builders.HttpSecurity;
import org.springframework.security.core.userdetails.UserDetailsService;
import org.springframework.security.crypto.bcrypt.BCryptPasswordEncoder;
import org.springframework.security.crypto.password.PasswordEncoder;
import org.springframework.security.web.SecurityFilterChain;
import org.springframework.security.web.util.matcher.AntPathRequestMatcher;

@Configuration
@AllArgsConstructor
public class SpringSecurityConfig {

    private UserDetailsService userDetailsService;
    @Bean
    public static PasswordEncoder passwordEncoder(){
        return new BCryptPasswordEncoder();
    }

    @Bean
    public SecurityFilterChain filterChain(HttpSecurity http) throws Exception {
        http.csrf().disable()
                .authorizeHttpRequests((authorize) ->
                        authorize.anyRequest().authenticated()
                ).formLogin(
                        form -> form
                                .loginPage("/login")
                                .loginProcessingUrl("/login")
                                .defaultSuccessUrl("/welcome")
                                .permitAll()
                ).logout(
                        logout -> logout
                                .logoutRequestMatcher(new AntPathRequestMatcher("/logout"))
                                .permitAll()
                );
        return http.build();
    }

    @Bean
    public AuthenticationManager authenticationManager(AuthenticationConfiguration configuration) throws Exception {
        return configuration.getAuthenticationManager();
    }
}We are using the Spring security provided BCryptPasswordEncoder class to encrypt the passwords.
Thymeleaf Template - Custom Login Page
The following Thymeleaf template produces an HTML login form that complies with a login page of /login.
Login Form - src/main/resources/templates/login.html
<!DOCTYPE html>
<html lang="en"
xmlns:th="http://www.thymeleaf.org"
>
<head>
<meta charset="UTF-8">
<title>Login System</title>
<link href="https://cdn.jsdelivr.net/npm/bootstrap@5.0.2/dist/css/bootstrap.min.css"
rel="stylesheet"
integrity="sha384-EVSTQN3/azprG1Anm3QDgpJLIm9Nao0Yz1ztcQTwFspd3yD65VohhpuuCOmLASjC"
crossorigin="anonymous">
</head>
<body>
<nav class="navbar navbar-expand-lg navbar-dark bg-dark">
<div class="container-fluid">
<a class="navbar-brand" th:href="@{/index}">Spring Security Custom Login Example</a>
<button class="navbar-toggler" type="button" data-bs-toggle="collapse" data-bs-target="#navbarSupportedContent" aria-controls="navbarSupportedContent" aria-expanded="false" aria-label="Toggle navigation">
<span class="navbar-toggler-icon"></span>
</button>
</div>
</nav>
<br /><br />
<div class="container">
<div class="row">
<div class="col-md-6 offset-md-3">
<div th:if="${param.error}">
<div class="alert alert-danger">Invalid Email or Password</div>
</div>
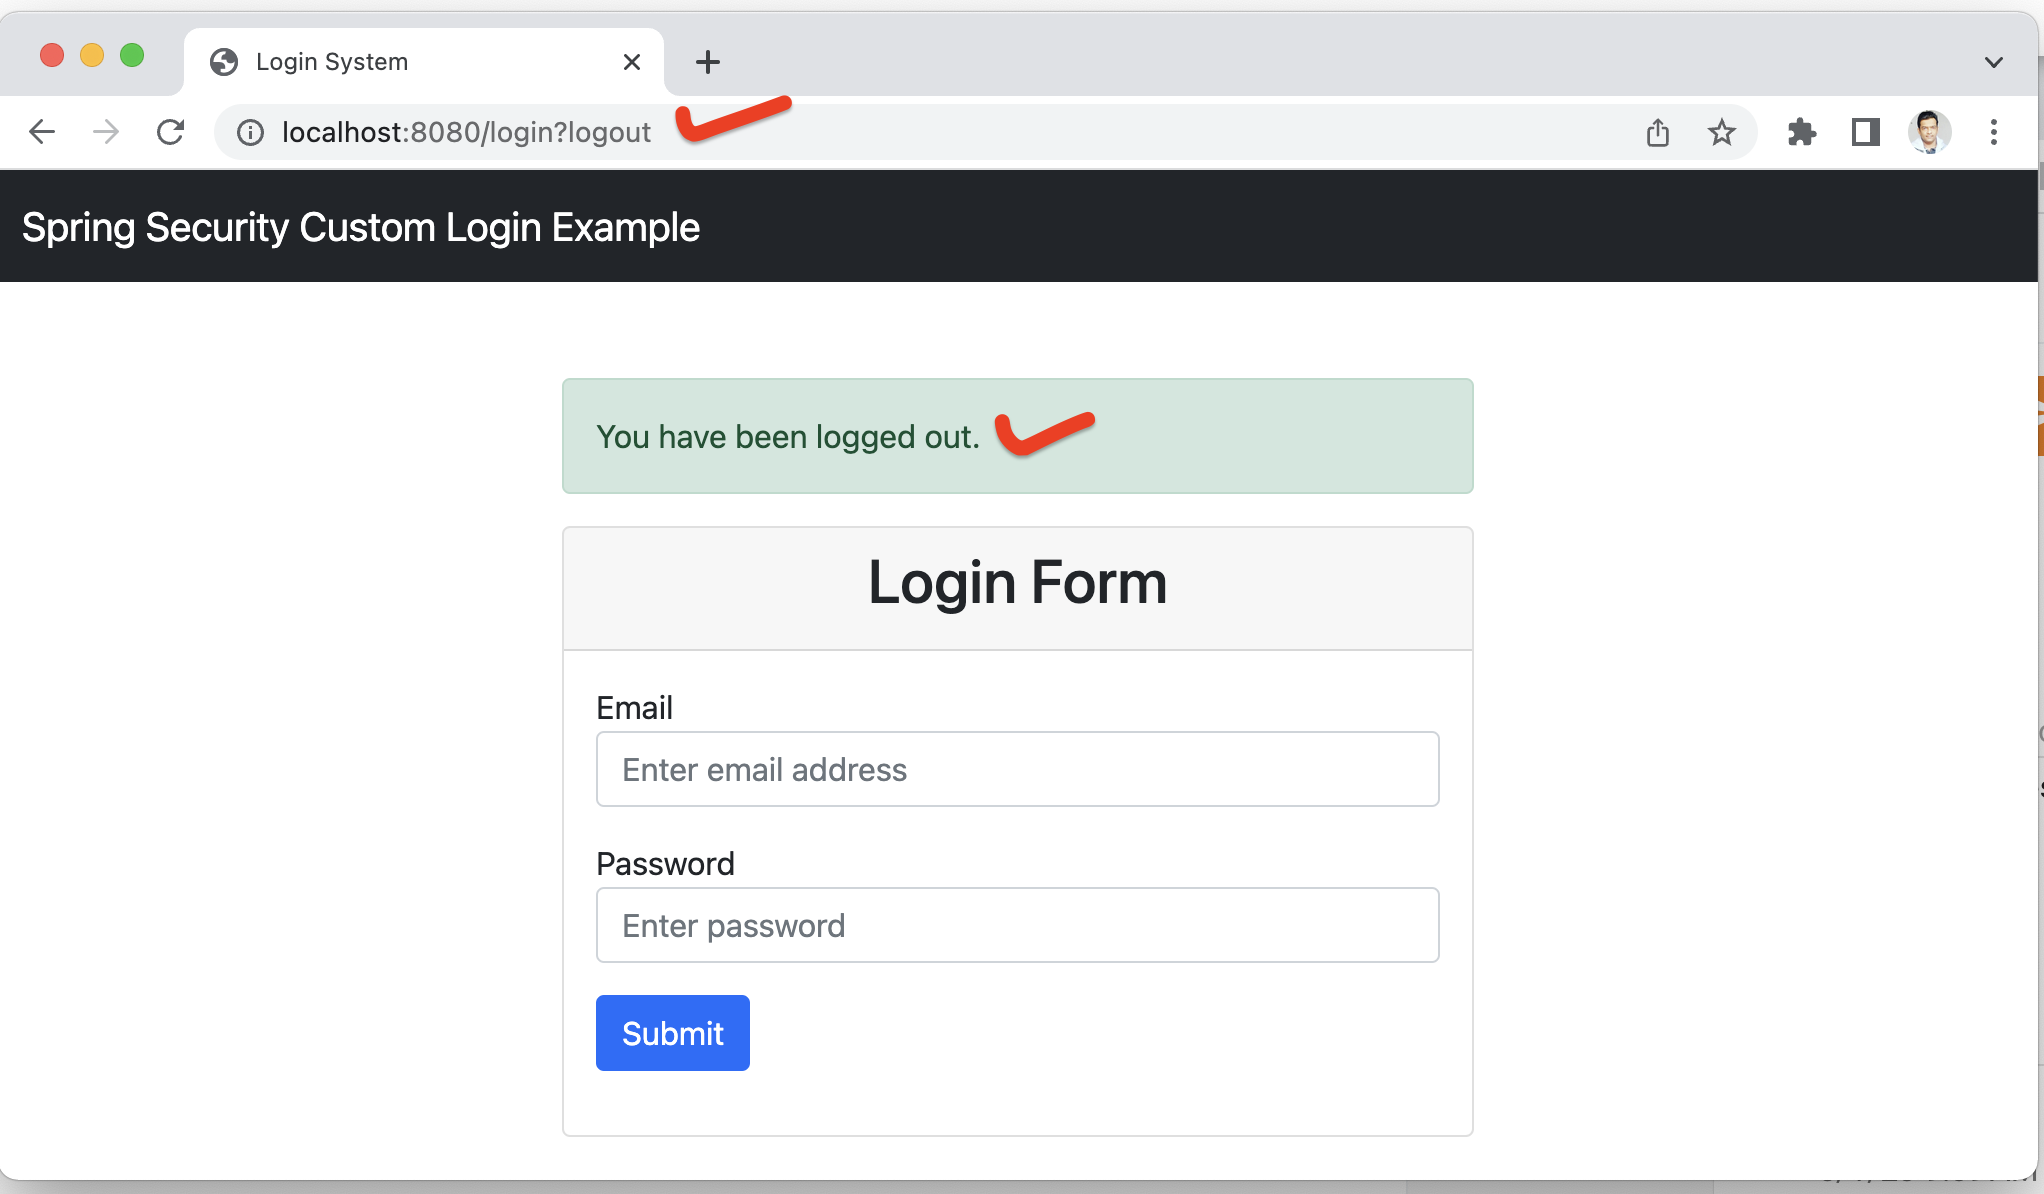
<div th:if="${param.logout}">
<div class="alert alert-success"> You have been logged out.</div>
</div>
<div class="card">
<div class="card-header">
<h2 class="text-center">Login Form</h2>
</div>
<div class="card-body">
<form
method="post"
role="form"
th:action="@{/login}"
class="form-horizontal"
>
<div class="form-group mb-3">
<label class="control-label"> Email</label>
<input
type="text"
id="username"
name="username"
class="form-control"
placeholder="Enter email address"
/>
</div>
<div class="form-group mb-3">
<label class="control-label"> Password</label>
<input
type="password"
id="password"
name="password"
class="form-control"
placeholder="Enter password"
/>
</div>
<div class="form-group mb-3">
<button type="submit" class="btn btn-primary" >Submit</button>
</div>
</form>
</div>
</div>
</div>
</div>
</div>
</body>
</html>- The form should perform a post to /login.
- The form should specify the username in a parameter named username.
- The form should specify the password in a parameter named password.
- If the HTTP parameter named error is found, it indicates the user failed to provide a valid username or password.
- If the HTTP parameter named logout is found, it indicates the user has logged out successfully.
- Many users do not need much more than to customize the login page. However, if needed, you can customize everything shown earlier with additional configuration.
Spring MVC Controller
Let's create a handler method in the Spring MVC controller that maps GET /login to the login template we created:
import org.springframework.stereotype.Controller;
import org.springframework.web.bind.annotation.GetMapping;

@Controller
public class WelComeController {

    @GetMapping("/welcome")
    public String greeting() {
        return "welcome";
    }

    @GetMapping("/login")
    public String login(){
        return "login";
    }
}
Note that we have also created a welcome handler method to return the welcome Thymeleaf template page.
Thymeleaf Template - welcome.html
<!DOCTYPE html>
<html lang="en"
      xmlns:th="http://www.thymeleaf.org"
>
<head>
    <meta charset="UTF-8">
    <title>Registration and Login System</title>
    <link href="https://cdn.jsdelivr.net/npm/bootstrap@5.0.2/dist/css/bootstrap.min.css"
          rel="stylesheet"
          integrity="sha384-EVSTQN3/azprG1Anm3QDgpJLIm9Nao0Yz1ztcQTwFspd3yD65VohhpuuCOmLASjC"
          crossorigin="anonymous">
</head>
<body>
<nav class="navbar navbar-expand-lg navbar-dark bg-dark">
    <div class="container-fluid">
        <a class="navbar-brand" th:href="@{/index}">Spring Security Custom Login Example</a>
        <button class="navbar-toggler" type="button" data-bs-toggle="collapse" data-bs-target="#navbarSupportedContent" aria-controls="navbarSupportedContent" aria-expanded="false" aria-label="Toggle navigation">
            <span class="navbar-toggler-icon"></span>
        </button>
        <div class="collapse navbar-collapse" id="navbarSupportedContent">
            <ul class="navbar-nav me-auto mb-2 mb-lg-0">
                <li class="nav-item">
                    <a class="nav-link active" aria-current="page" th:href="@{/logout}">Logout</a>
                </li>
            </ul>
        </div>
    </div>
</nav>
<br /><br />

<body>
<div class="container">
    <div class="row">
        <h1> Welcome to Spring Security world!</h1>
    </div>
</div>

</body>
</html>
Insert SQL Scripts
INSERT INTO `users` VALUES
(1,'ramesh@gmail.com','ramesh','$2a$10$5PiyN0MsG0y886d8xWXtwuLXK0Y7zZwcN5xm82b4oDSVr7yF0O6em','ramesh'),
(2,'admin@gmail.com','admin','$2a$10$gqHrslMttQWSsDSVRTK1OehkkBiXsJ/a4z2OURU./dizwOQu5Lovu','admin');

INSERT INTO `roles` VALUES (1,'ROLE_ADMIN'),(2,'ROLE_USER');

INSERT INTO `users_roles` VALUES (2,1),(1,2);Test Login Form with Database Authentication using Browser
Enter http://localhost:8080 URL in the browser and it will navigate to the login page. Next, enter a username as admin, password as admin, and click on the Sign-in button:


Conclusion
Related Tutorials
My Top and Bestseller Udemy Courses. The sale is going on with a 70 - 80% discount. The discount coupon has been added to each course below:

Build REST APIs with Spring Boot 4, Spring Security 7, and JWT
![[NEW] Learn Apache Maven with IntelliJ IDEA and Java 25](https://img-c.udemycdn.com/course/750x422/6852721_b512_2.jpg "[NEW] Learn Apache Maven with IntelliJ IDEA and Java 25")
[NEW] Learn Apache Maven with IntelliJ IDEA and Java 25

ChatGPT + Generative AI + Prompt Engineering for Beginners
")
Spring 7 and Spring Boot 4 for Beginners (Includes 8 Projects)
Available in Udemy for Business

Building Real-Time REST APIs with Spring Boot - Blog App
Available in Udemy for Business

Building Microservices with Spring Boot and Spring Cloud
Available in Udemy for Business

Java Full-Stack Developer Course with Spring Boot and React JS
Available in Udemy for Business

Build 5 Spring Boot Projects with Java: Line-by-Line Coding

Testing Spring Boot Application with JUnit and Mockito
Available in Udemy for Business

Spring Boot Thymeleaf Real-Time Web Application - Blog App
Available in Udemy for Business

Master Spring Data JPA with Hibernate
Available in Udemy for Business

Spring Boot + Apache Kafka Course - The Practical Guide
Available in Udemy for Business


")

Comments
Post a Comment
Leave Comment