
🎓 Check Out My Top 25 Udemy Courses (80-90% Discount): My Udemy Courses - Ramesh Fadatare
In this tutorial, you will learn how to use RabbitMQ broker in the Spring boot application to send and receive messages between the Producer and the Consumer.
Note that we are going to use Spring boot 3 and JDK 17 or later versions for this tutorial.
What is RabbitMQ?
RabbitMQ is a message queue software (message broker/queue manager) that acts as an intermediary platform where different applications can send and receive messages.
RabbitMQ originally implements the Advanced Message Queuing Protocol (AMQP). But now RabbitMQ also supports several other API protocols such as STOMP, MQTT, and HTTP.
Learn more about RabbitMQ at RabbitMQ Java Tutorial with Examples.
Spring AMQP
The Spring AMQP project applies core Spring concepts to the development of AMQP-based messaging solutions. It provides a "template" as a high-level abstraction for sending and receiving messages.
The Spring AMQP project consists of two parts; spring-amqp is the base abstraction, and spring-rabbit is the RabbitMQ implementation.
Features
- Listener container for asynchronous processing of inbound messages
- RabbitTemplate for sending and receiving messages
- RabbitAdmin for automatically declaring queues, exchanges, and bindings
Spring Boot RabbitMQ Producer and Consumer Workflow
The Producer is an application that sends messages to the RabbitMQ broker and the Consumer is an application that reads messages from the RabbitMQ broker.
In this tutorial, we will implement below Spring Boot RabbitMQ flow:

Prerequisites
1. Create and Setup Spring Boot Project in IntelliJ

2. Maven Dependencies
Here is the complete pom.xml file for your reference:
<?xml version="1.0" encoding="UTF-8"?>
<project xmlns="http://maven.apache.org/POM/4.0.0" xmlns:xsi="http://www.w3.org/2001/XMLSchema-instance"
xsi:schemaLocation="http://maven.apache.org/POM/4.0.0 https://maven.apache.org/xsd/maven-4.0.0.xsd">
<modelVersion>4.0.0</modelVersion>
<parent>
<groupId>org.springframework.boot</groupId>
<artifactId>spring-boot-starter-parent</artifactId>
<version>3.0.0-SNAPSHOT</version>
<relativePath/> <!-- lookup parent from repository -->
</parent>
<groupId>net.javaguides</groupId>
<artifactId>springboot-rabbitmq-tutorial</artifactId>
<version>0.0.1-SNAPSHOT</version>
<name>springboot-rabbitmq-tutorial</name>
<description>Demo project for Spring Boot and RabbitMQ</description>
<properties>
<java.version>17</java.version>
</properties>
<dependencies>
<dependency>
<groupId>org.springframework.boot</groupId>
<artifactId>spring-boot-starter-amqp</artifactId>
</dependency>
<dependency>
<groupId>org.springframework.boot</groupId>
<artifactId>spring-boot-starter-web</artifactId>
</dependency>
<dependency>
<groupId>org.projectlombok</groupId>
<artifactId>lombok</artifactId>
<optional>true</optional>
</dependency>
<dependency>
<groupId>org.springframework.boot</groupId>
<artifactId>spring-boot-starter-test</artifactId>
<scope>test</scope>
</dependency>
<dependency>
<groupId>org.springframework.amqp</groupId>
<artifactId>spring-rabbit-test</artifactId>
<scope>test</scope>
</dependency>
</dependencies>
<build>
<plugins>
<plugin>
<groupId>org.springframework.boot</groupId>
<artifactId>spring-boot-maven-plugin</artifactId>
<configuration>
<excludes>
<exclude>
<groupId>org.projectlombok</groupId>
<artifactId>lombok</artifactId>
</exclude>
</excludes>
</configuration>
</plugin>
</plugins>
</build>
<repositories>
<repository>
<id>spring-milestones</id>
<name>Spring Milestones</name>
<url>https://repo.spring.io/milestone</url>
<snapshots>
<enabled>false</enabled>
</snapshots>
</repository>
<repository>
<id>spring-snapshots</id>
<name>Spring Snapshots</name>
<url>https://repo.spring.io/snapshot</url>
<releases>
<enabled>false</enabled>
</releases>
</repository>
</repositories>
<pluginRepositories>
<pluginRepository>
<id>spring-milestones</id>
<name>Spring Milestones</name>
<url>https://repo.spring.io/milestone</url>
<snapshots>
<enabled>false</enabled>
</snapshots>
</pluginRepository>
<pluginRepository>
<id>spring-snapshots</id>
<name>Spring Snapshots</name>
<url>https://repo.spring.io/snapshot</url>
<releases>
<enabled>false</enabled>
</releases>
</pluginRepository>
</pluginRepositories>
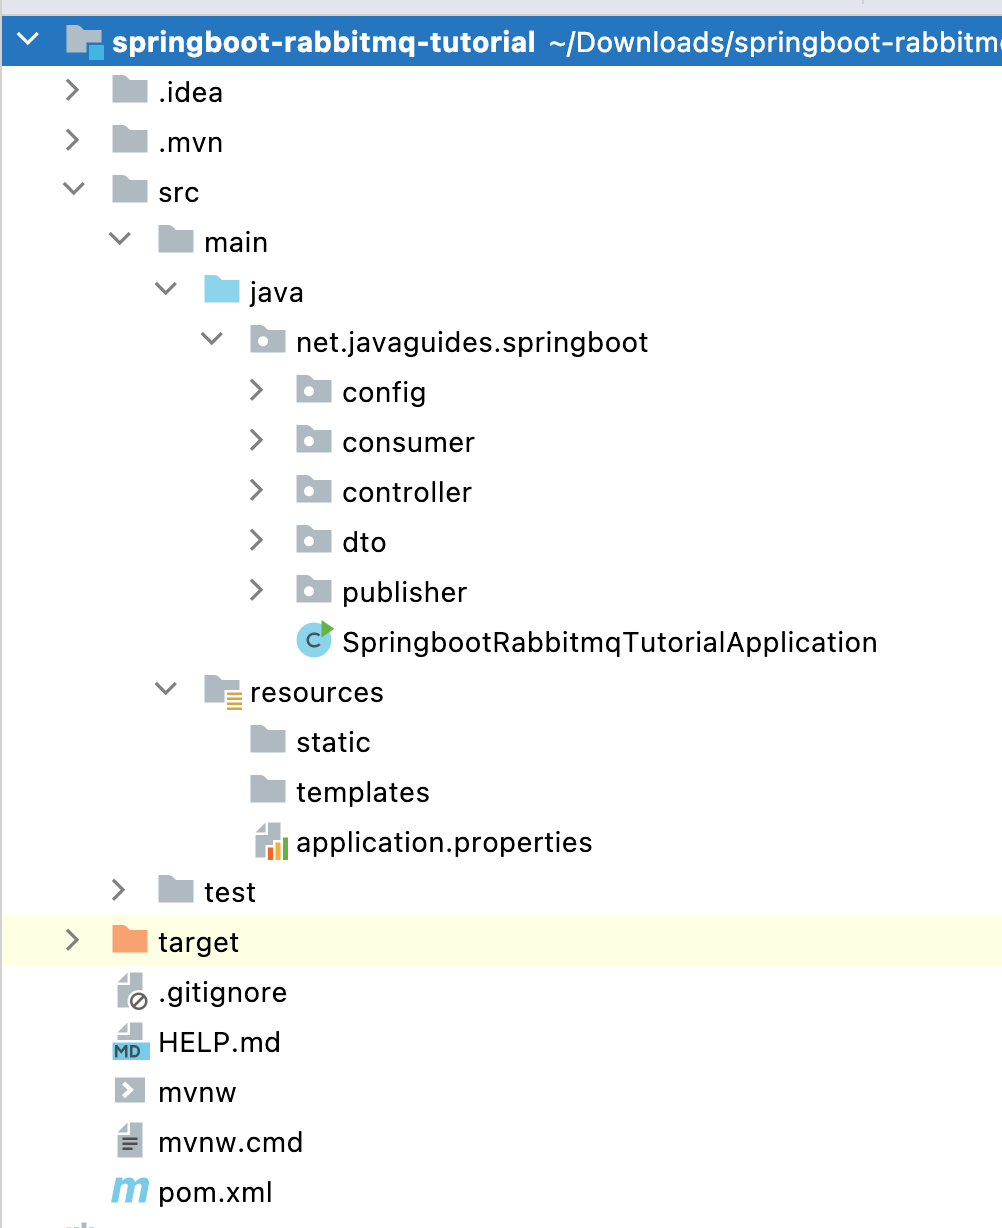
</project>3. Project Structure
4. Connect Spring Boot Application with RabbitMQ
spring.rabbitmq.host=localhost
spring.rabbitmq.port=5672
spring.rabbitmq.username=guest
spring.rabbitmq.password=guest
5. Configure RabbitMQ in Spring Boot Application
package net.javaguides.springboot.config;

import org.springframework.amqp.core.*;
import org.springframework.beans.factory.annotation.Value;
import org.springframework.context.annotation.Bean;
import org.springframework.context.annotation.Configuration;

@Configuration
public class RabbitMQConfig {

    @Value("${rabbitmq.queue.name}")
    private String queue;

    @Value("${rabbitmq.exchange.name}")
    private String exchange;

    @Value("${rabbitmq.routing.key}")
    private String routingKey;

    // spring bean for rabbitmq queue
    @Bean
    public Queue queue(){
        return new Queue(queue);
    }

    // spring bean for rabbitmq exchange
    @Bean
    public TopicExchange exchange(){
        return new TopicExchange(exchange);
    }

    // binding between queue and exchange using routing key
    @Bean
    public Binding binding(){
        return BindingBuilder
                .bind(queue())
                .to(exchange())
                .with(routingKey);
    }

// Spring boot autoconfiguration provides following beans
    // ConnectionFactory
    // RabbitTemplate
    // RabbitAdmin
}The application.properties file change
rabbitmq.queue.name=javaguides
rabbitmq.exchange.name=javaguides_exchange
rabbitmq.routing.key=javaguides_routing_key
6. Create RabbitMQ Producer
We are going to use RabbitTemplate to convert and send a message using RabbitMQ. It is a helper class, like many other Template classes existing in Spring (such as JdbcTemplate, KafkaTemplate, etc).package net.javaguides.springboot.publisher;
import org.slf4j.Logger;
import org.slf4j.LoggerFactory;
import org.springframework.amqp.rabbit.core.RabbitTemplate;
import org.springframework.beans.factory.annotation.Autowired;
import org.springframework.beans.factory.annotation.Value;
import org.springframework.stereotype.Service;
@Service
public class RabbitMQProducer {
@Value("${rabbitmq.exchange.name}")
private String exchange;
@Value("${rabbitmq.routing.key}")
private String routingKey;
private static final Logger LOGGER = LoggerFactory.getLogger(RabbitMQProducer.class);
private RabbitTemplate rabbitTemplate;
public RabbitMQProducer(RabbitTemplate rabbitTemplate) {
this.rabbitTemplate = rabbitTemplate;
}
    public void sendMessage(String message){
        LOGGER.info(String.format("Message sent -> %s", message));
        rabbitTemplate.convertAndSend(exchange, routingKey, message);
    }
} public void sendMessage(String message){
LOGGER.info(String.format("Message sent -> %s", message));
rabbitTemplate.convertAndSend(exchange, routingKey, message);
}7. Create REST API to Send Message
package net.javaguides.springboot.controller;

import net.javaguides.springboot.publisher.RabbitMQProducer;
import org.springframework.http.ResponseEntity;
import org.springframework.web.bind.annotation.GetMapping;
import org.springframework.web.bind.annotation.RequestMapping;
import org.springframework.web.bind.annotation.RequestParam;
import org.springframework.web.bind.annotation.RestController;

@RestController
@RequestMapping("/api/v1")
public class MessageController {

    private RabbitMQProducer producer;

    public MessageController(RabbitMQProducer producer) {
        this.producer = producer;
    }

    // http://localhost:8080/api/v1/publish?message=hello
    @GetMapping("/publish")
    public ResponseEntity<String> sendMessage(@RequestParam("message") String message){
        producer.sendMessage(message);
        return ResponseEntity.ok("Message sent to RabbitMQ ...");
    }
}
Test REST API using Postman
http://localhost:8080/api/v1/publish?message=sample message8. Create RabbitMQ Consumer
package net.javaguides.springboot.consumer;

import org.slf4j.Logger;
import org.slf4j.LoggerFactory;
import org.springframework.amqp.rabbit.annotation.RabbitListener;
import org.springframework.stereotype.Service;

@Service
public class RabbitMQConsumer {

    private static final Logger LOGGER = LoggerFactory.getLogger(RabbitMQConsumer.class);

    @RabbitListener(queues = {"${rabbitmq.queue.name}"})
    public void consume(String message){
        LOGGER.info(String.format("Received message -> %s", message));
    }
}
We configure consumers using the @RabbitListener annotation. The only argument passed here is the queues' name. Consumers are not aware here of exchanges or routing keys.
9. Demo
 Check Console Logs:

  .   ____          _            __ _ _
 /\\ / ___'_ __ _ _(_)_ __  __ _ \ \ \ \
( ( )\___ | '_ | '_| | '_ \/ _` | \ \ \ \
 \\/  ___)| |_)| | | | | || (_| |  ) ) ) )
  '  |____| .__|_| |_|_| |_\__, | / / / /
 =========|_|==============|___/=/_/_/_/
 :: Spring Boot ::       (v3.0.0-SNAPSHOT)
2022-07-05T16:38:07.224+05:30  INFO 9840 --- [           main] o.s.b.w.embedded.tomcat.TomcatWebServer  : Tomcat initialized with port(s): 8080 (http)
2022-07-05T16:38:07.229+05:30  INFO 9840 --- [           main] o.apache.catalina.core.StandardService   : Starting service [Tomcat]
2022-07-05T16:38:07.229+05:30  INFO 9840 --- [           main] org.apache.catalina.core.StandardEngine  : Starting Servlet engine: [Apache Tomcat/10.0.21]
2022-07-05T16:38:07.293+05:30  INFO 9840 --- [           main] o.a.c.c.C.[Tomcat].[localhost].[/]       : Initializing Spring embedded WebApplicationContext
2022-07-05T16:38:07.294+05:30  INFO 9840 --- [           main] w.s.c.ServletWebServerApplicationContext : Root WebApplicationContext: initialization completed in 513 ms
2022-07-05T16:38:07.595+05:30  INFO 9840 --- [           main] o.s.b.w.embedded.tomcat.TomcatWebServer  : Tomcat started on port(s): 8080 (http) with context path ''
2022-07-05T16:38:07.597+05:30  INFO 9840 --- [           main] o.s.a.r.c.CachingConnectionFactory       : Attempting to connect to: [localhost:5672]
2022-07-05T16:38:07.672+05:30  INFO 9840 --- [           main] o.s.a.r.c.CachingConnectionFactory       : Created new connection: rabbitConnectionFactory#102ecc22:0/SimpleConnection@3e1fd62b [delegate=amqp://guest@127.0.0.1:5672/, localPort= 62666]
2022-07-05T16:38:07.727+05:30  INFO 9840 --- [           main] .s.SpringbootRabbitmqTutorialApplication : Started SpringbootRabbitmqTutorialApplication in 1.332 seconds (process running for 1.536)
2022-07-05T16:38:10.014+05:30  INFO 9840 --- [nio-8080-exec-2] o.a.c.c.C.[Tomcat].[localhost].[/]       : Initializing Spring DispatcherServlet 'dispatcherServlet'
2022-07-05T16:38:10.014+05:30  INFO 9840 --- [nio-8080-exec-2] o.s.web.servlet.DispatcherServlet        : Initializing Servlet 'dispatcherServlet'
2022-07-05T16:38:10.019+05:30  INFO 9840 --- [nio-8080-exec-2] o.s.web.servlet.DispatcherServlet        : Completed initialization in 5 ms
2022-07-05T16:38:10.047+05:30  INFO 9840 --- [nio-8080-exec-2] n.j.s.publisher.RabbitMQProducer         : Message sent -> sample message
2022-07-05T16:38:10.086+05:30  INFO 9840 --- [ntContainer#0-1] n.j.s.consumer.RabbitMQConsumer          : Received message -> sample message
Udemy Course
Conclusion
In this tutorial, we have seen how to use RabbitMQ broker in the Spring boot application to send and receive messages between the Producer and the Consumer.
My Top and Bestseller Udemy Courses. The sale is going on with a 70 - 80% discount. The discount coupon has been added to each course below:

Build REST APIs with Spring Boot 4, Spring Security 7, and JWT
![[NEW] Learn Apache Maven with IntelliJ IDEA and Java 25](https://img-c.udemycdn.com/course/750x422/6852721_b512_2.jpg "[NEW] Learn Apache Maven with IntelliJ IDEA and Java 25")
[NEW] Learn Apache Maven with IntelliJ IDEA and Java 25

ChatGPT + Generative AI + Prompt Engineering for Beginners
")
Spring 7 and Spring Boot 4 for Beginners (Includes 8 Projects)
Available in Udemy for Business

Building Real-Time REST APIs with Spring Boot - Blog App
Available in Udemy for Business

Building Microservices with Spring Boot and Spring Cloud
Available in Udemy for Business

Java Full-Stack Developer Course with Spring Boot and React JS
Available in Udemy for Business

Build 5 Spring Boot Projects with Java: Line-by-Line Coding

Testing Spring Boot Application with JUnit and Mockito
Available in Udemy for Business

Spring Boot Thymeleaf Real-Time Web Application - Blog App
Available in Udemy for Business

Master Spring Data JPA with Hibernate
Available in Udemy for Business

Spring Boot + Apache Kafka Course - The Practical Guide
Available in Udemy for Business


")

Comments
Post a Comment
Leave Comment